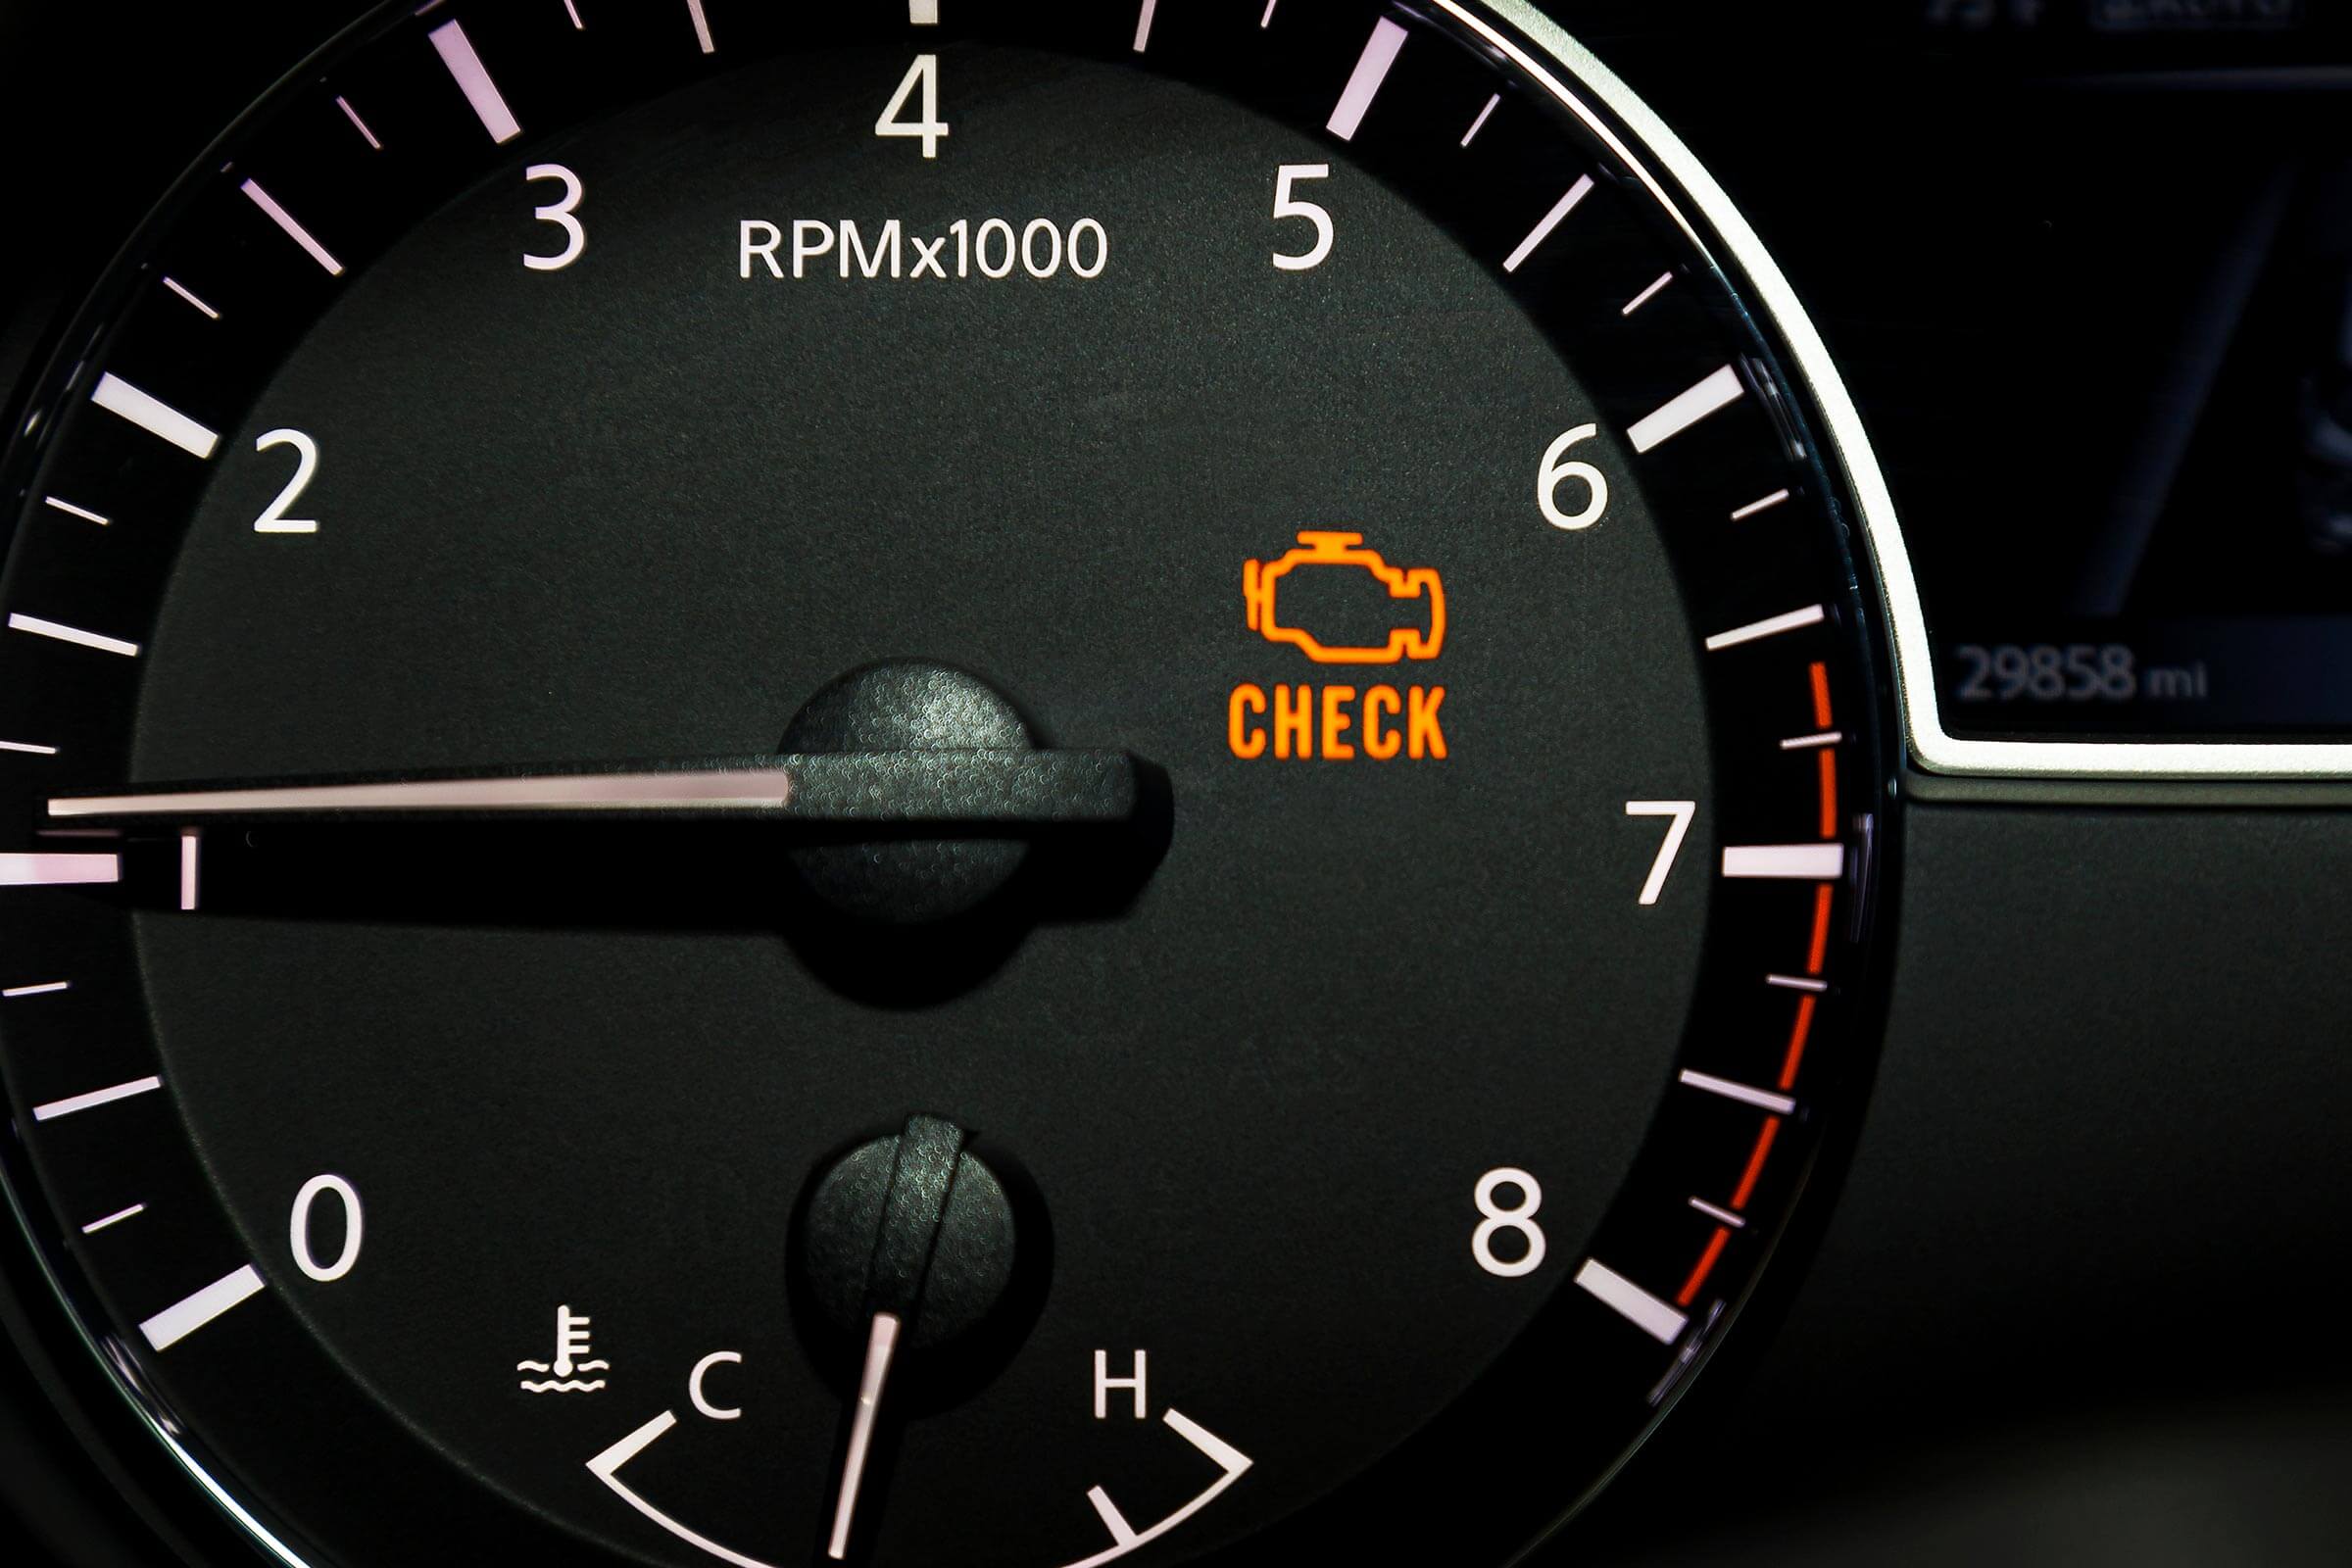
The moment your check engine light turns on, your mind starts racing. Is it something minor or something serious? Many drivers ignore this warning, while others panic immediately. The truth sits somewhere in between. A check engine light in Rahway acts as your car’s way of asking for attention. Skilled mechanics know exactly how to read that signal and turn it into a clear diagnosis.
Have a look at how mechanics diagnose the problems of the check engine light in Rahway.
Step One: Discussion with the Car Owner
A professional mechanic does not jump straight into tools. They begin with a conversation. They ask questions like:
- When did the light turn on
- Did you notice any unusual sounds or smells
- Has the car lost power or fuel efficiency
- Did you recently refuel or repair anything
This initial discussion helps narrow down possible causes. For example, if the light appeared after refueling, a loose gas cap might be the issue. A good mechanic uses your answers as clues before moving forward.
Step Two: Visual Inspection
Before using advanced tools, mechanics perform a quick visual check. This step may seem simple, but it often reveals obvious problems.
They inspect:
- The gas cap for tightness or damage
- Battery connections for corrosion
- Visible hoses for cracks or leaks
- Wiring for loose or damaged connections
Sometimes a disconnected hose or a worn wire triggers the check engine light in Rahway. Fixing these issues can solve the problem instantly without further testing.
Step Three: Using an OBD Scanner
The most important tool in diagnosing check engine light problems is the OBD scanner. OBD stands for On-Board Diagnostics. Every modern car has a port where mechanics connect this device.
The scanner reads stored trouble codes from the car’s computer. These codes give a starting point for diagnosis. For example:
- A code related to oxygen sensors
- A code indicating a misfire in a cylinder
- A code pointing to fuel system issues
However, a code does not always tell the full story. It only indicates where the problem might exist. A skilled mechanic uses these codes as guidance, not as a final answer.
Step Four: Interpreting Trouble Codes Correctly
Many people think scanning the code solves the problem. In reality, this is where real expertise begins.
For example, a code may indicate a faulty oxygen sensor. But the actual issue could be:
- A vacuum leak
- A fuel mixture imbalance
- Exhaust system problems
Replacing the sensor without further testing may waste money and time. Mechanics analyze the code along with other data to find the root cause. This step separates experienced professionals from basic technicians.
Step Five: Checking Live Data
Modern OBD scanners do more than read codes. They also display live data from your car’s sensors.
Mechanics monitor:
- Engine temperature
- Air and fuel ratio
- Throttle position
- Oxygen sensor readings
This real-time information helps them understand how the engine behaves under different conditions. For example, if the fuel mixture looks too rich or too lean, they can identify whether the issue comes from injectors, sensors, or airflow problems.
Also read: Top Causes of Engine Overheating
Step Six: Performing Targeted Tests
Once mechanics identify possible causes, they run specific tests to confirm their diagnosis. These tests depend on the issue suggested by the code and data.
Some common tests include:
Smoke Test
Mechanics use a smoke machine to detect leaks in the intake system. Smoke escapes from cracks or loose connections, making leaks easy to spot.
Compression Test
This test checks the health of engine cylinders. Low compression may indicate worn components or internal damage.
Fuel Pressure Test
This test measures fuel delivery to the engine. Low pressure can cause performance issues and trigger the check engine light.
Electrical Testing
Mechanics use multimeters to check voltage, resistance, and continuity in circuits. This helps identify faulty wiring or sensors.
Each test confirms or eliminates possible causes, bringing the mechanic closer to the exact problem.
Step Seven: Inspecting Specific Components
After narrowing down the issue, mechanics focus on the affected parts. Some commonly inspected components include:
Oxygen Sensors
These sensors measure oxygen levels in the exhaust. Faulty readings can affect fuel efficiency and emissions.
Spark Plugs and Ignition Coils
Misfires often occur due to worn spark plugs or failing ignition coils. Mechanics check for wear, damage, or carbon buildup.
Catalytic Converter
A clogged or damaged catalytic converter can trigger warning lights and reduce engine performance.
Mass Airflow Sensor
This sensor measures incoming air. If it fails, the engine may receive incorrect fuel amounts.
By carefully inspecting these parts, mechanics confirm the exact source of the problem.
Step Eight: Clearing the Code and Retesting
After fixing the issue, mechanics clear the trouble codes from the system. But the process does not end here.
They run the engine and sometimes take the car for a test drive. This ensures the problem does not return. If the check engine light stays off, the repair was successful.
If the light comes back, they repeat the diagnostic process to find any missed issues.
Do you need a licensed mechanic to diagnose a check engine light problem? Contact Quality 1st Auto Repair. Our professionals have the skills to diagnose and fix the problem in no time. Call us now and get a free quote.